Quickstart
Create a workspace, give the AI something to answer from, connect a channel and publish your first agent.
Guided setup takes about fifteen minutes. It saves as you go, so you can leave and pick up at the first unfinished step. The person who creates the workspace becomes its owner.
1. Create your account and workspace
Sign up at app.convo.run/signup, then create a workspace with the business name your team will recognize. Setup starts right after.
2. Tell us about your business
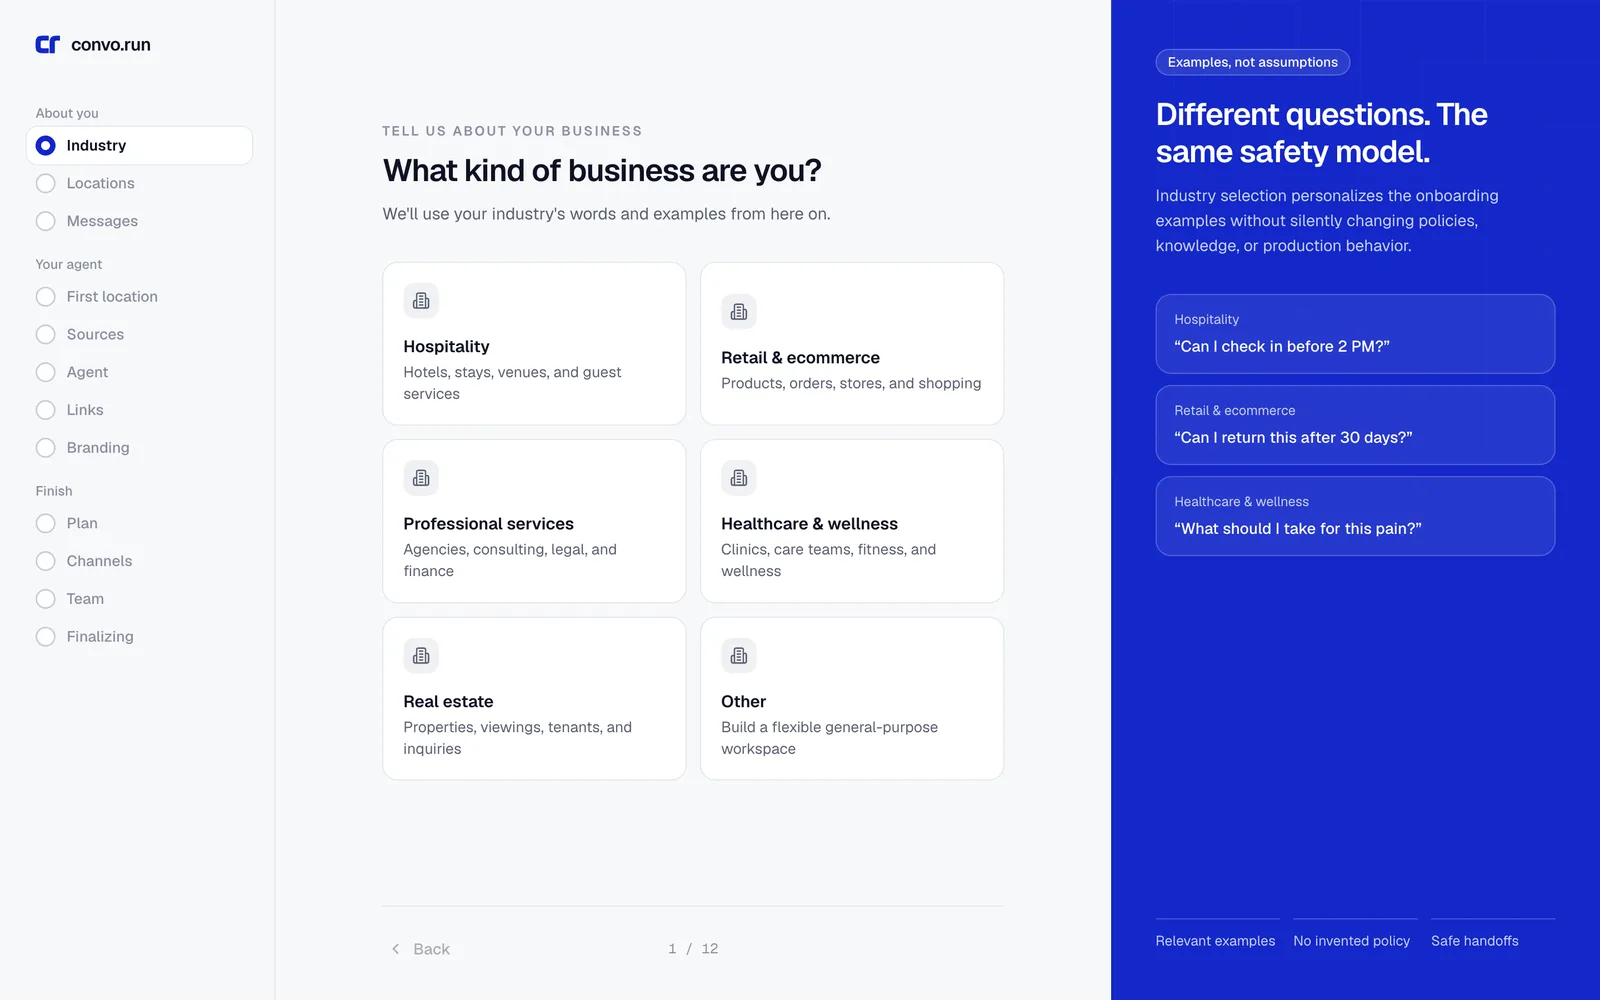
The first three steps ask what kind of business you run, how many locations you have and roughly how many messages you get a week. Your answers pick sensible defaults, such as the topics content is sorted into and the plan we recommend. Wording in later steps follows your industry, so a shop sees "store" where a clinic sees "location".
3. Create your first location
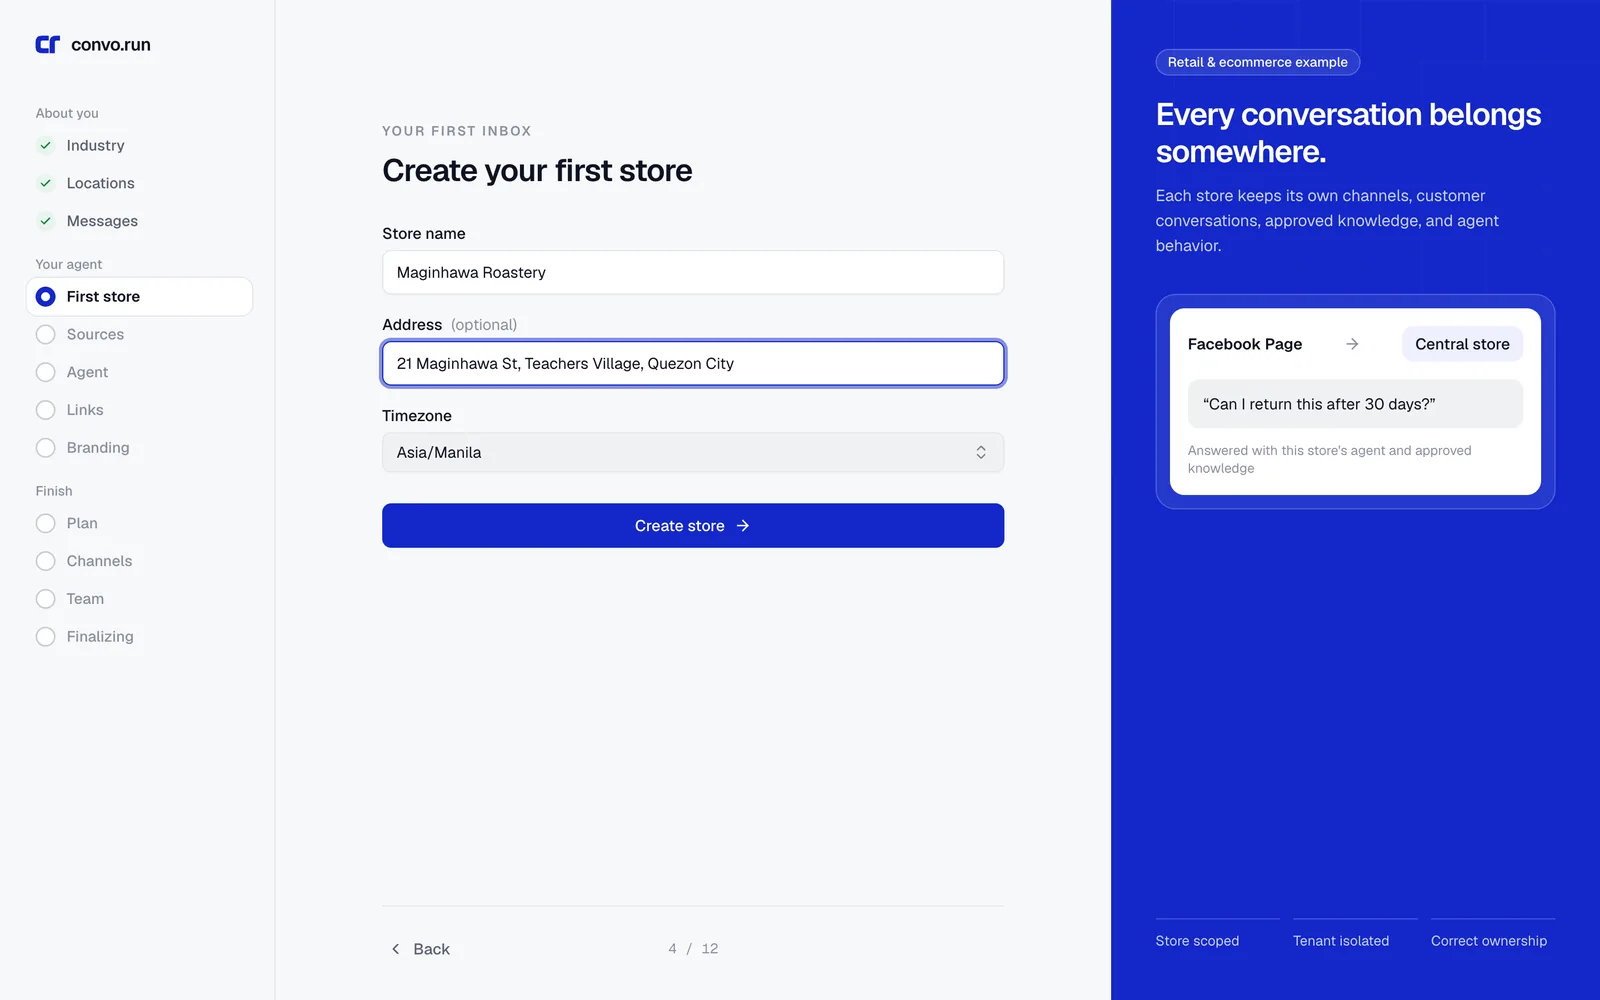
Enter the location's name, address and timezone. Add the website if you have one; setup reads it in the next steps to suggest pages and branding.
4. Add what the agent should know
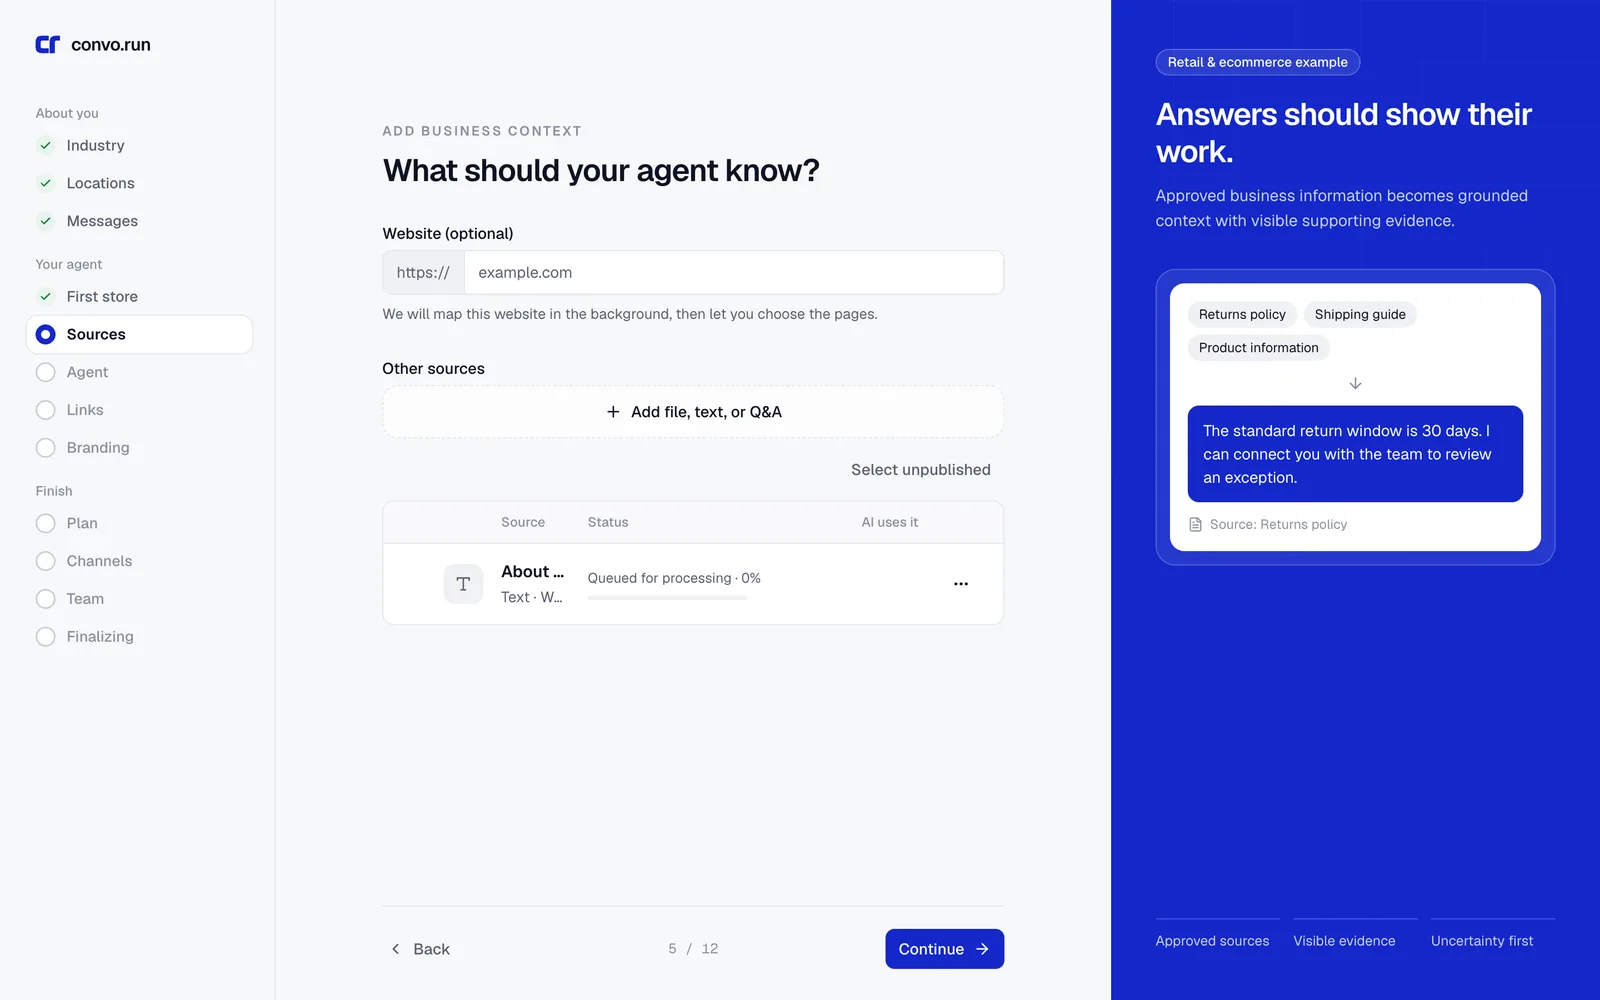
Add a few sources the AI can answer from: a Q&A, a text with your key facts, or a file such as a handbook or FAQ. You can add websites later from Knowledge. Start with what customers ask most: opening hours, delivery or booking, and payment. Prices go in offerings, not in knowledge.
Start small and current
Don't import every document you have. Old or conflicting material makes the AI hand off instead of answering. See Knowledge for what belongs where.
5. Choose the agent's role
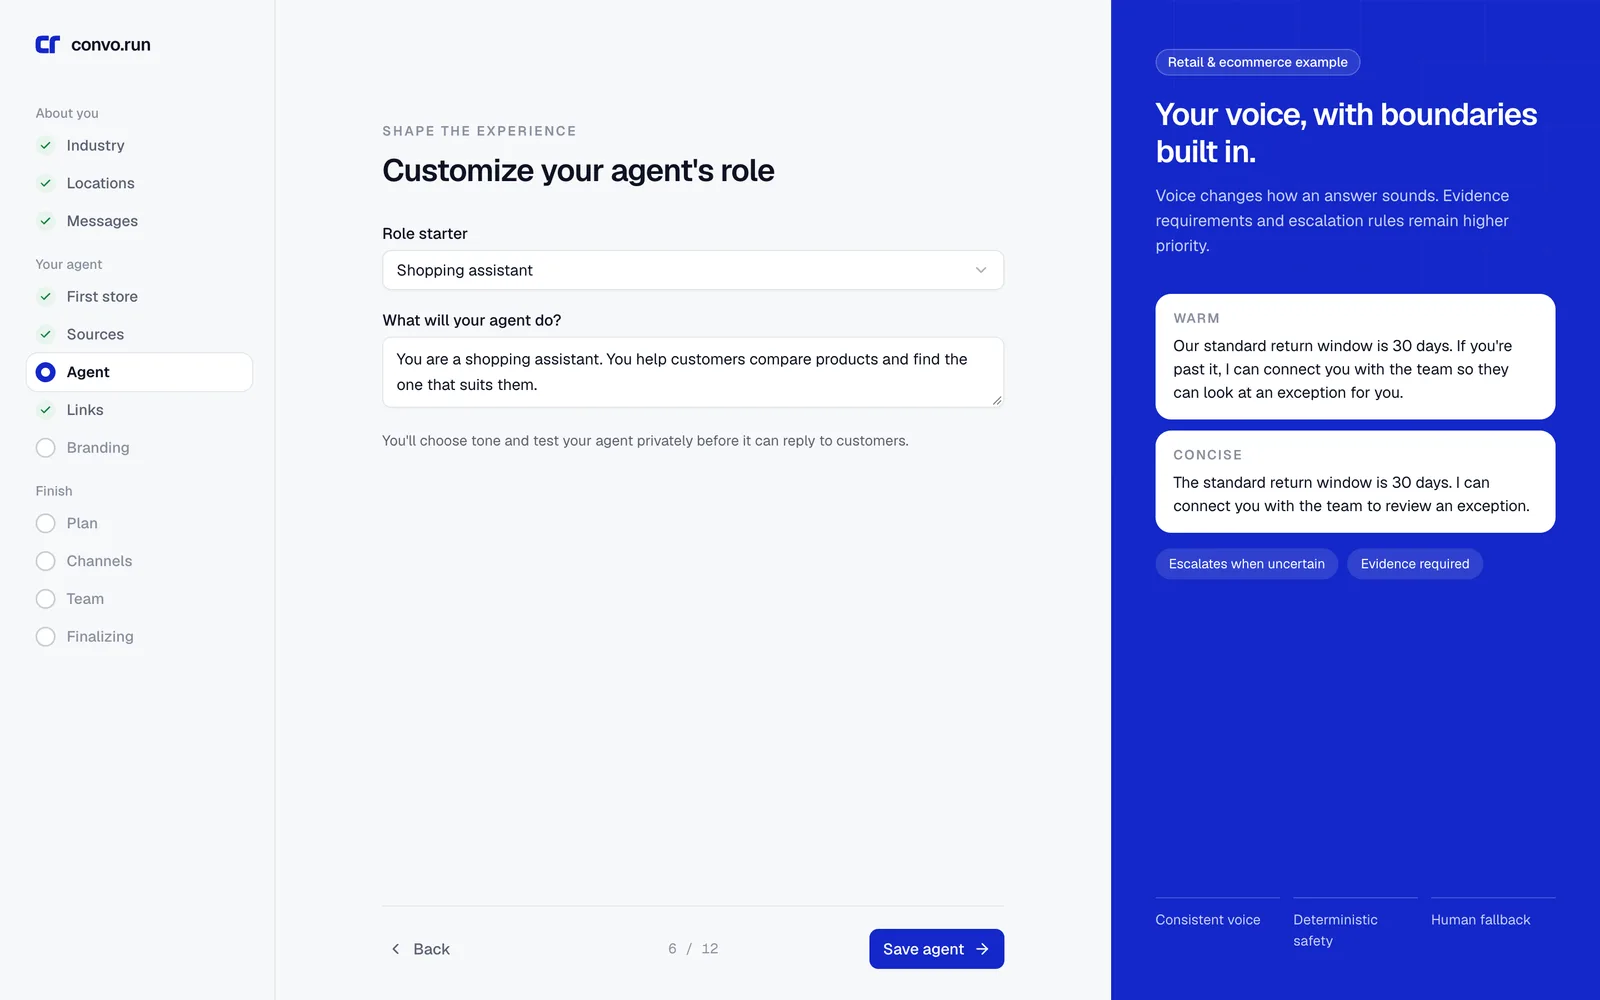
Pick a role starter, such as Customer support assistant or Shopping assistant, and adjust what the agent does in one or two sentences. You can change the role, instructions and tone at any time in the AI playground.
If you entered a website, the next steps show the pages we found and the brand colors for your chat widget. Keep the pages that contain customer-facing facts.
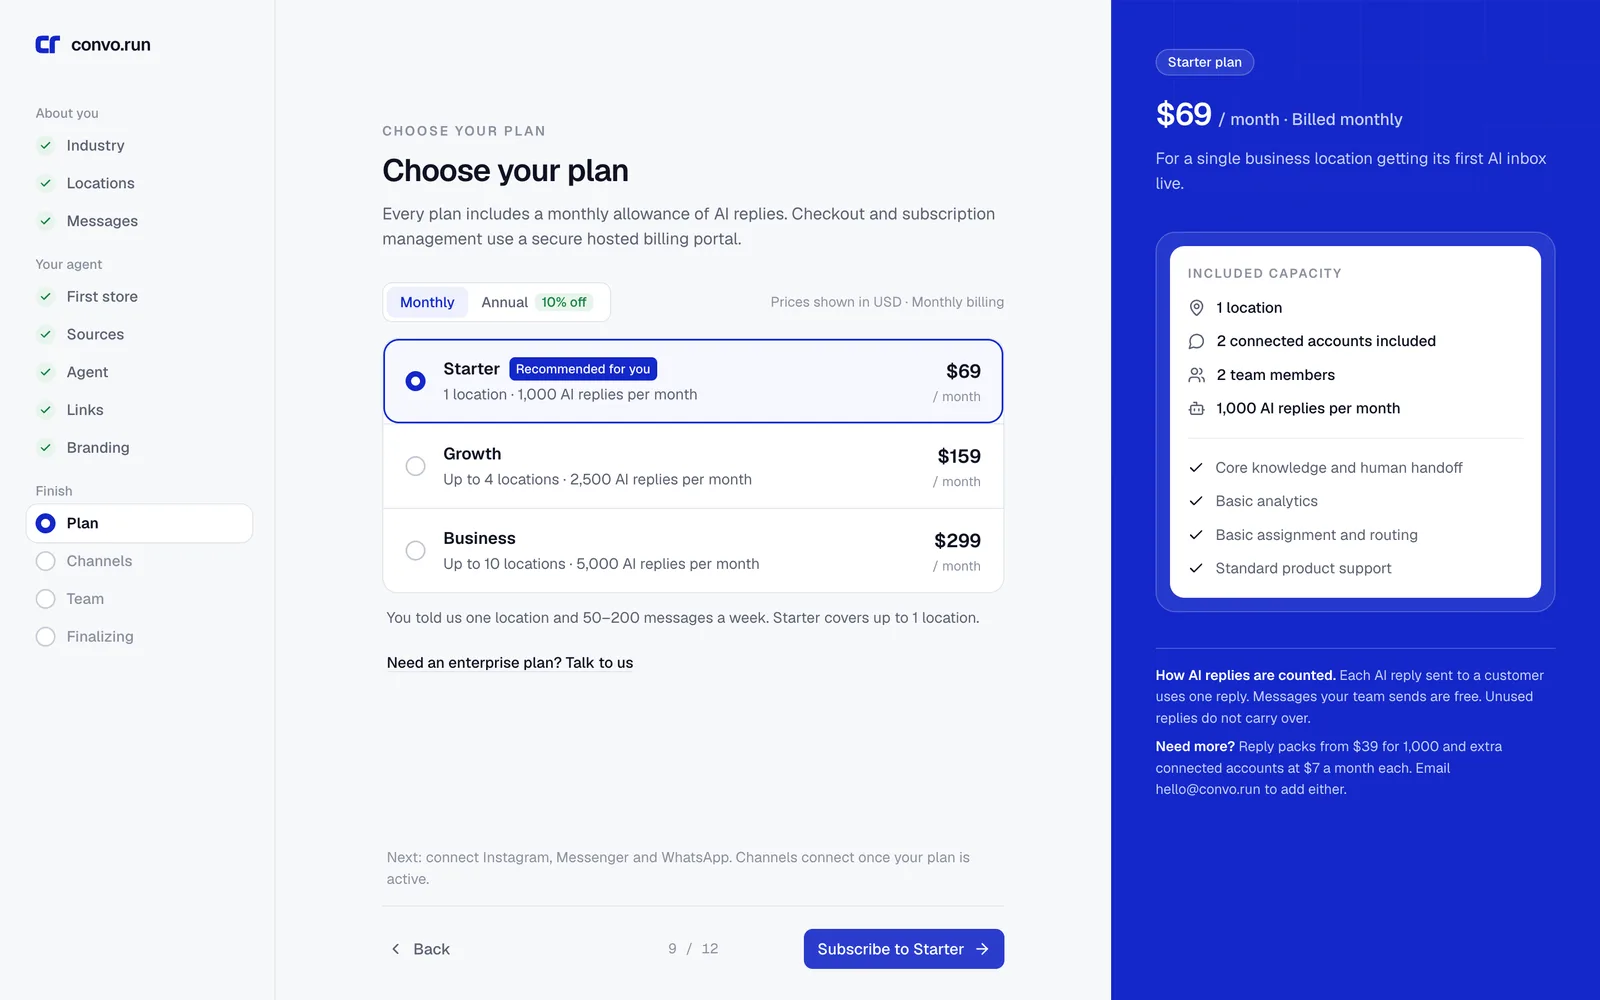
6. Choose a plan
Pick a plan and a monthly or annual billing period, then pay on the hosted checkout page. Website chat is free on every plan. Messenger, Instagram, WhatsApp, TikTok and email need an active plan. See Plans and billing.
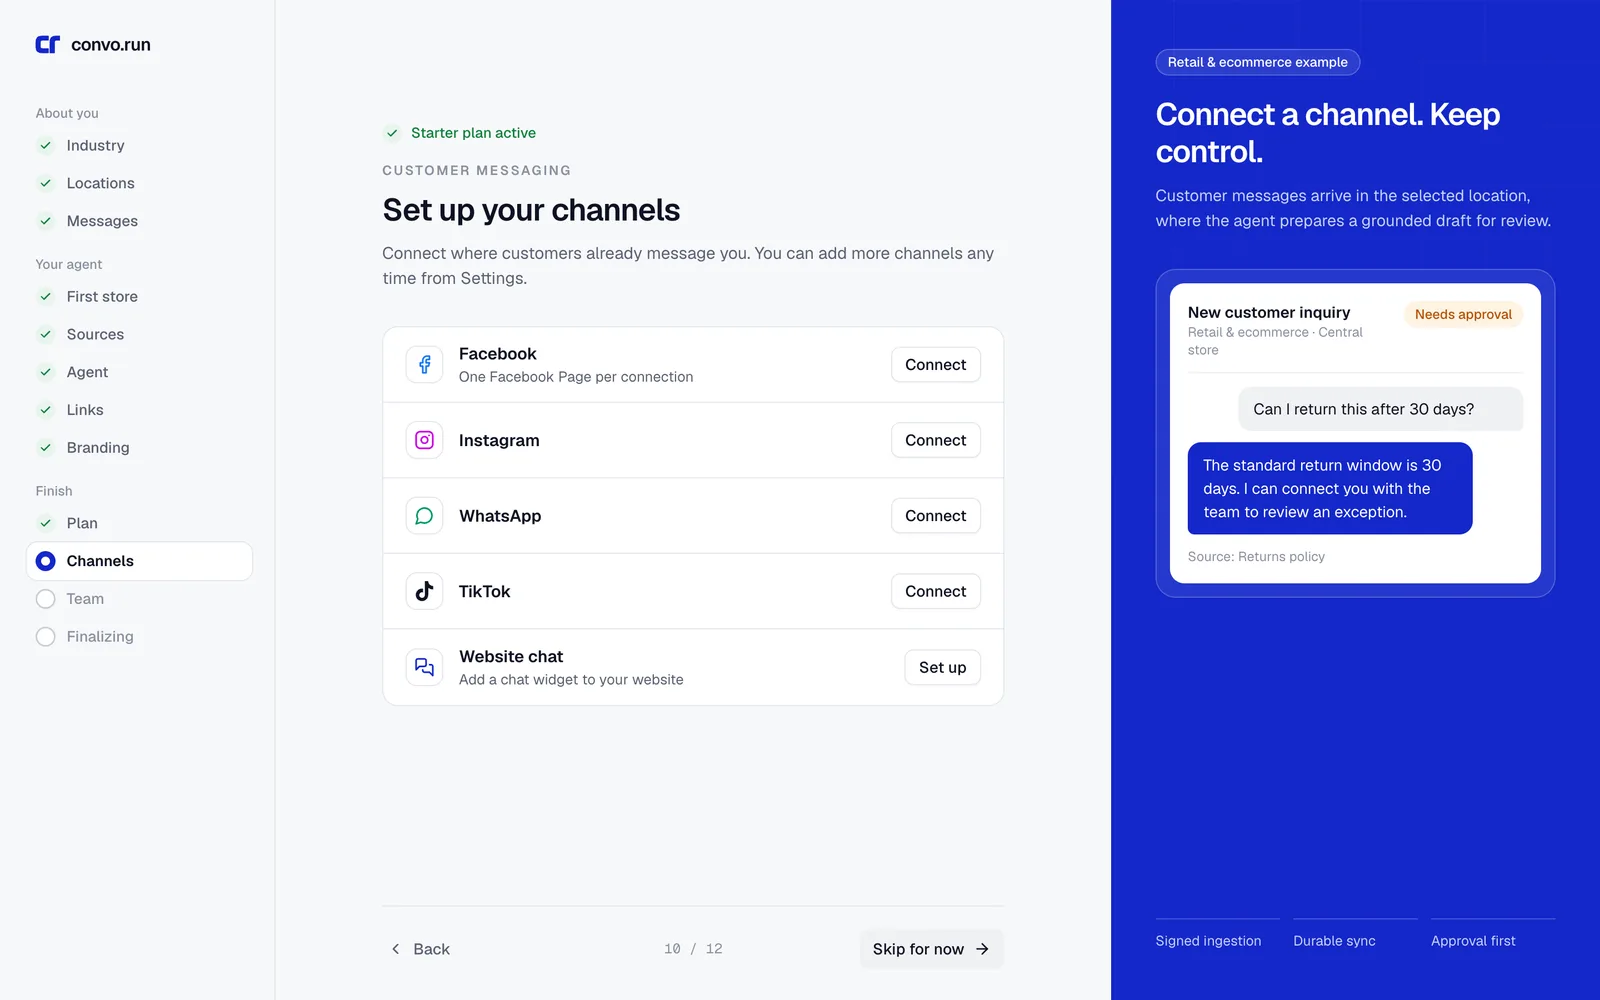
7. Connect a channel
Connect Facebook, Instagram, WhatsApp or email, or set up website chat. You can skip this and connect channels later from Settings → Channels.
8. Invite your team
Invite up to 20 teammates at once by email, or choose I will do this later.
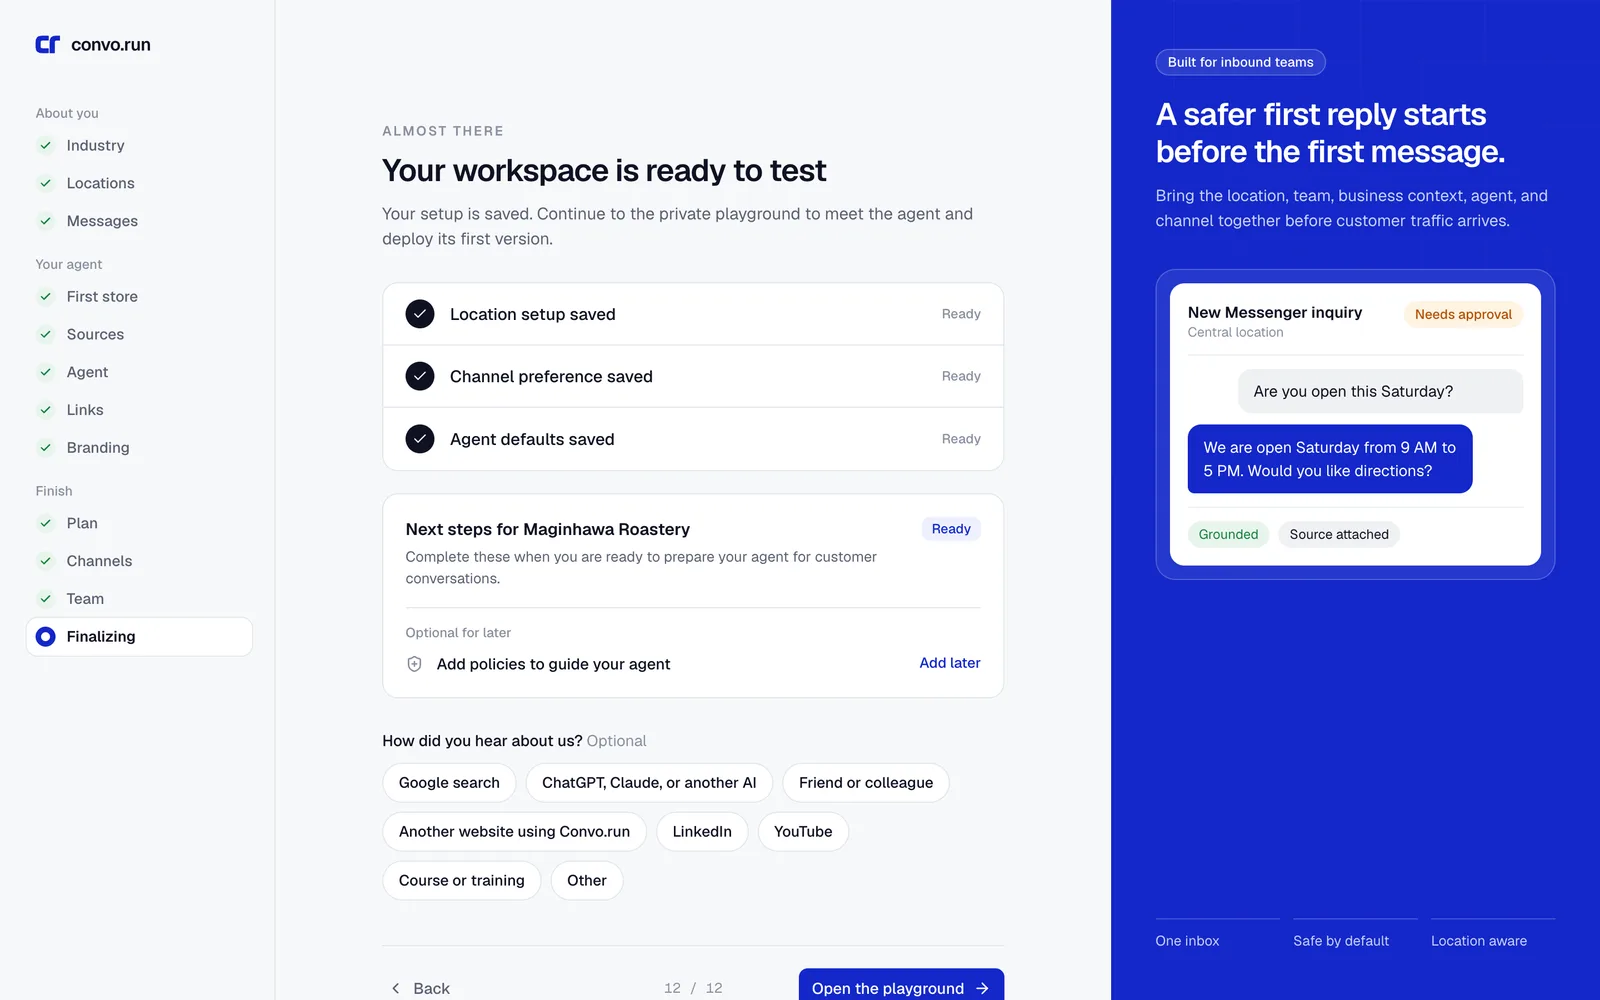
9. Test and publish the agent
The last step opens the AI playground. Ask the questions your customers ask and check each answer and its sources. When you're happy, choose Publish first version. The AI doesn't reply at a location until a version is published.
10. Pick a reply mode and send a test message
A new location starts in Team only mode. Open the location's Settings tab and choose AI drafts for the team. The AI then drafts every reply and a teammate approves it. Send a real message to your channel and check that:
- The conversation appears in Inbox under the right location.
- The AI draft answers the question and cites the right source.
- A reply you approve reaches the customer.
Switch to Automatic replies once drafts look right. See Locations for what each mode does.
Next steps
- Inbox for daily work.
- Teams and routing to decide who picks up handoffs.
- AI policy for strictness, sensitive topics and conversation rules.